At the end of my last post, I had six signatures and two covers, ready for poking holes and binding.
Vocab recap! (words I learned doing this)
folio - a sheet folded in half to form two sheets for the book
signature - a nested group of folios that are later bound together to form the book
book - a bound collection of signatures or sheets
I decided to do a Coptic sewn binding, mostly because it's one I've tried before and I liked the results. A sewn binding doesn't have to dry and tends to endure use well. I’ve never had pages fall out on me. With a Coptic binding, every page opens flat. That was pretty much my goal. Onward!
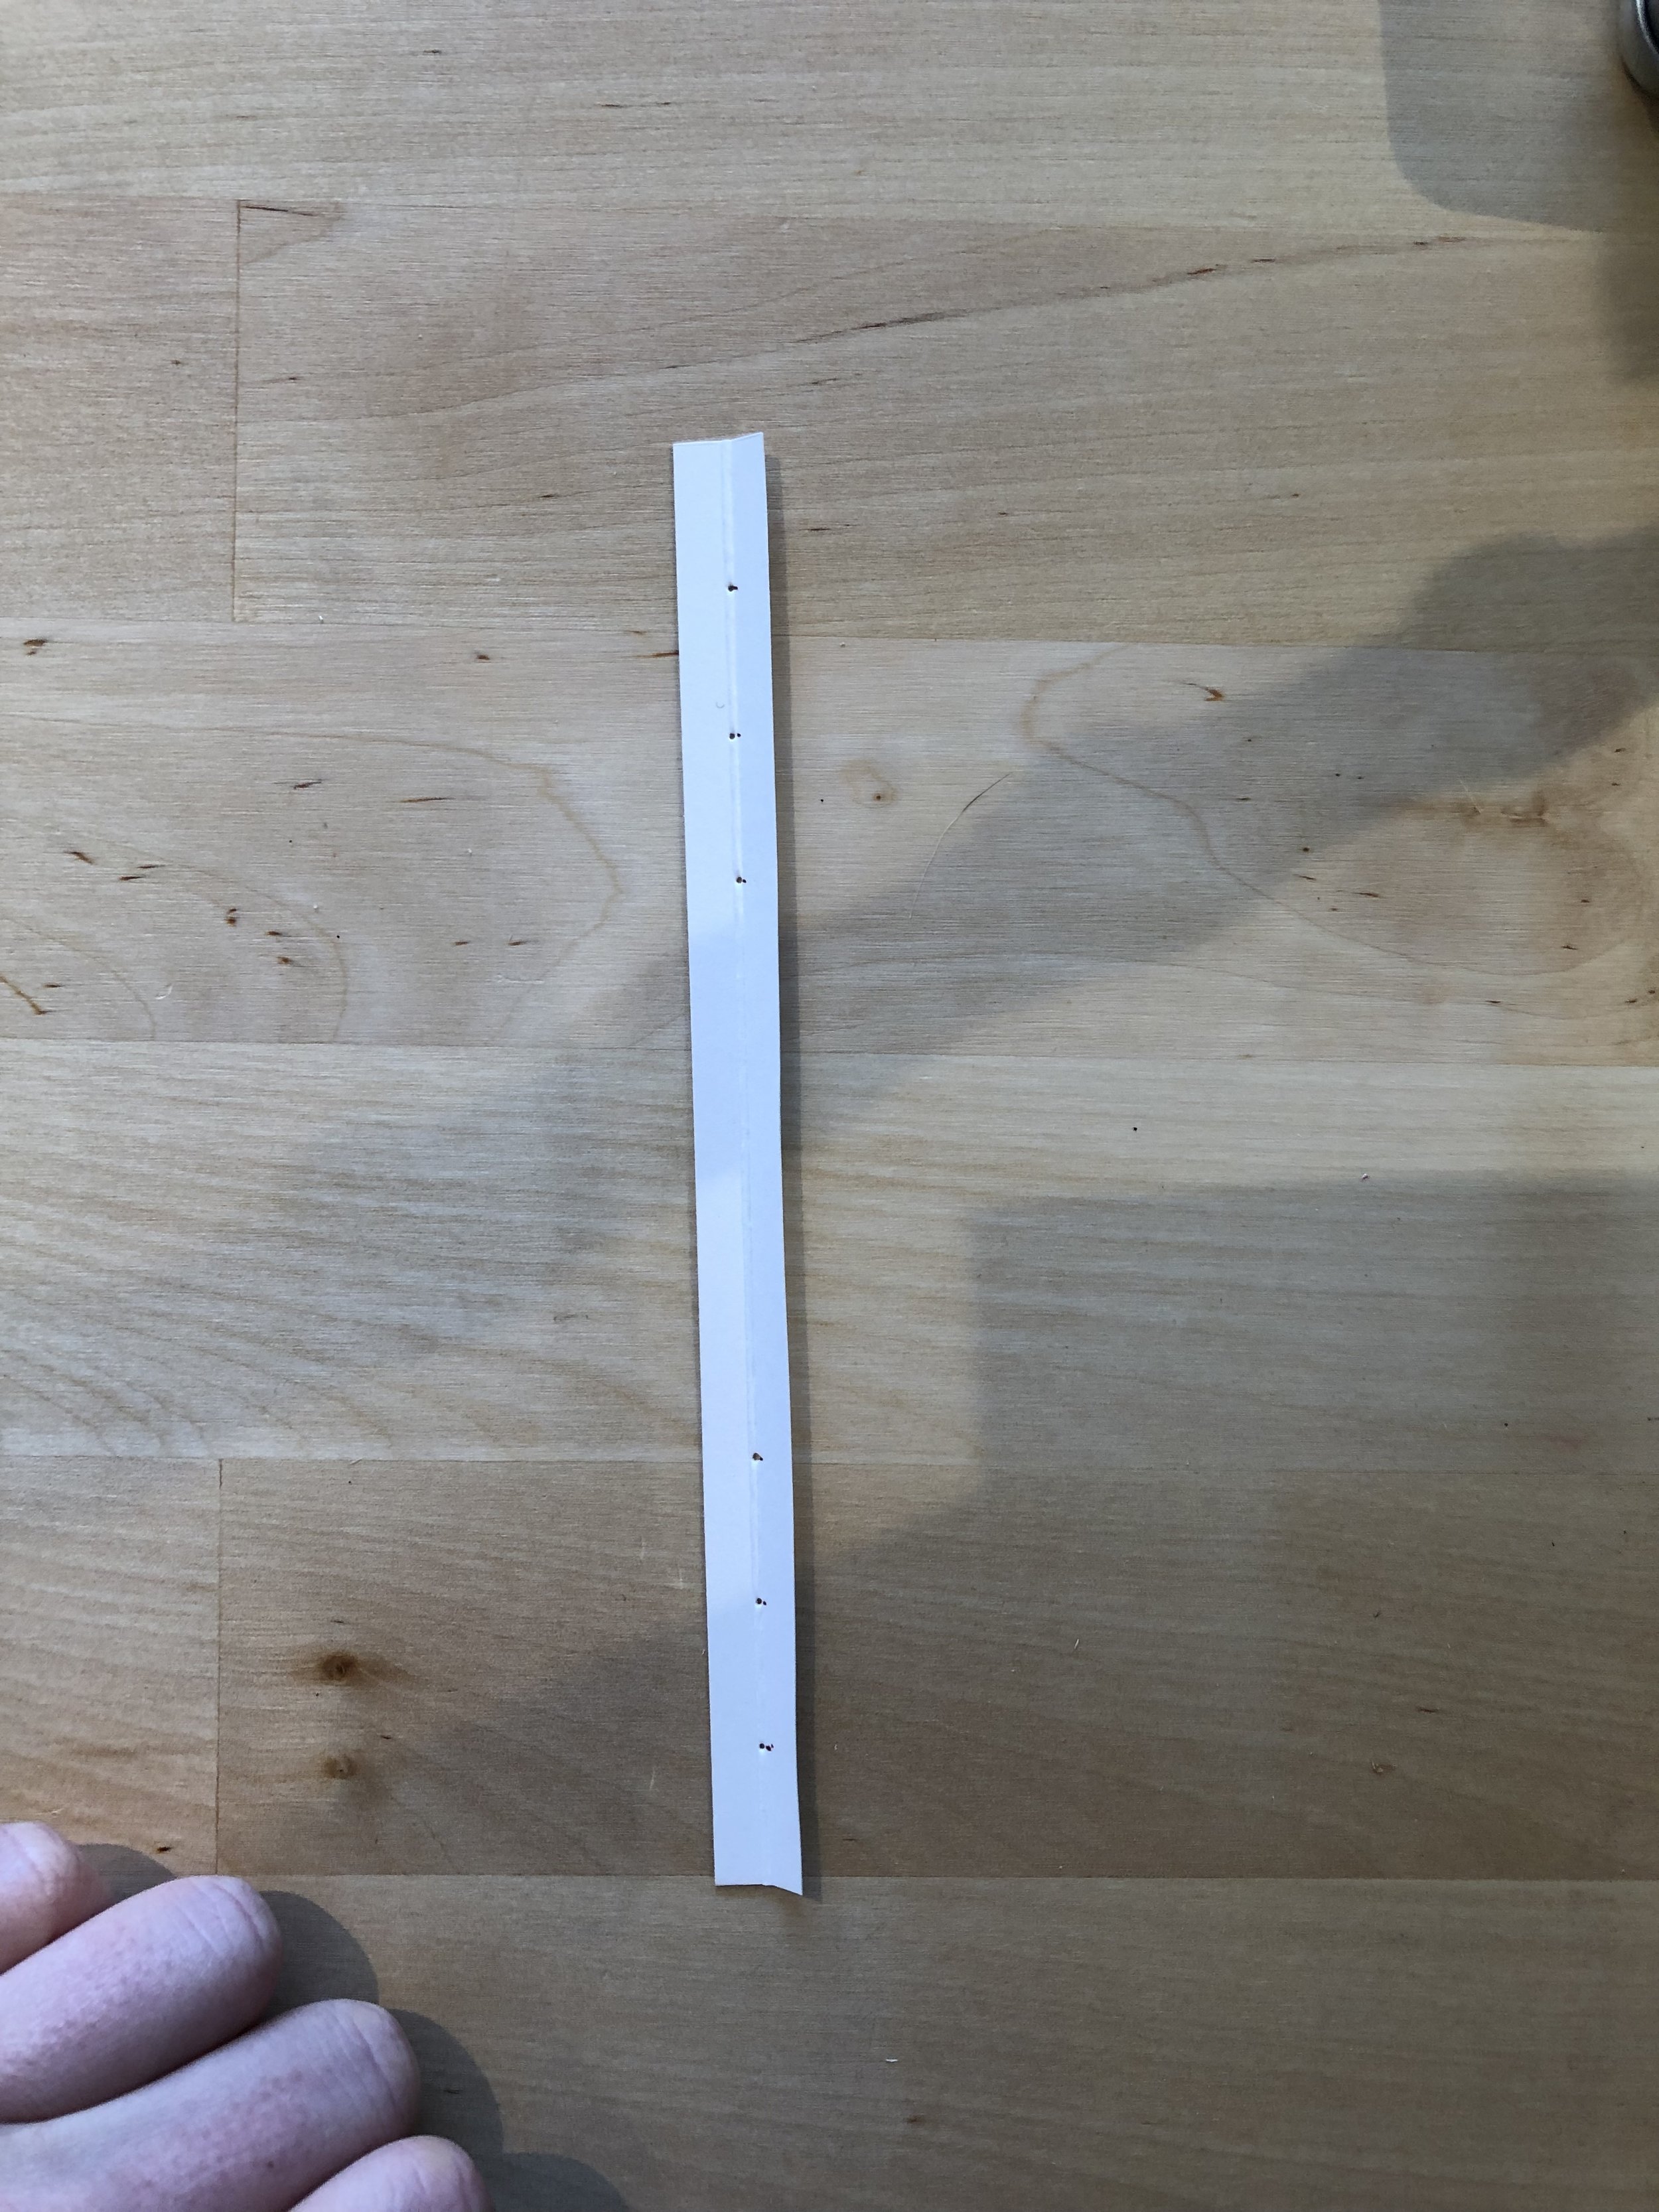
The first thing I did, was make a template for where I was punching holes. The best way I know to ensure regularity is to use a guide, so I made one. I took some of the trimmed Bristol paper and folded it in half, hotdog style. Then I took a small awl (sharp and pointy with a handle on the back so you don't hurt your hand making holes) and punched a series of six holes, three on top, three on bottom. No, I have no idea if this is the proper way to do it, it's just the way I did it.
Template with holes.
I used the template to mark where the holes belonged on the covers. Then I opened each signature and set the guide in the middle to mark where the holes belonged on each signature. At the end, they all lined up. Success!
Now for the stitching part. I used some waxed thread I had from an older project. You want waxed thread because it's supposed to glide through your pages easier than unwaxed. Gliding means less tearing and more durability.
I threaded my needle onto the thread then, holding the spool in one hand, pulled needle and thread as far as was comfortable. I cut it and tied a knot to keep it from slipping through the holes as I started. In the pictures you will see I switched from a straight needle to a curved needle on the second row. That's because a straight needle actually made it more difficult to do some of the binding stitches than the curved needle I switched to.
Start with one signature and your back cover
I started with one signature and kept my back cover close. Starting with the first hole, I followed this pattern:
From the inside of your signature, push your needle through to the outside.
Holding the back cover next to your signature, push needle through hole in the back cover, toward the inside of the book.
Thread needle between the back cover and the signature so it is outside the book again. (I tried to remember to always pass it over the top of the thread running from signature to back cover, but sometimes I forgot.)
Insert needle into the same hole you used to come out of the signature.
Repeat steps 1-4 with the next hole down until the last hole in the signature. Do not re-enter last hole in the signature.
For the rest of the book:
Take your next signature and hold it in place.
Thread your needle through the first hole to the inside of the new signature.
From the inside, push the needle through the next hole to the outside of the book.
Push your needle between the previous signature and the cover, coming back out on the other side of the thread connecting them. Your thread should now be wrapped around the thread connecting the cover to the first signature. (See pictures)
Push needle back through the hole you came out of the signature, to the inside.
Repeat steps 3-5 to the end of the signature.
Repeat from step 1 until you have one final signature and your front cover to add. (I forgot this past and had to re-do my last signature!)
Then, after some fumbling, I added my last signature and my front cover:
Holding the last signature and cover in place, thread your needle through the first hole in your cover from the outside to the inside of the book. (I know the signature is sitting between them and it feels so wrong, but this is how I've learned to do it.)
Pull the needle from between the signature and the cover so it is on the outside.
Thread needle through first hole in signature. (I kind of pushed the thread that's running across the hole to one side so it was sort of wrapped by the thread going into the last signature.)
Come out the next hole down.
Go into the next hole of the cover, from the outside to the inside.
Pull thread between the cover and the signature.
Use the needle to wrap the thread around the connection of the previous sections. (The same way you have previously.)
Thread the needle back into the hole in the signature it came out of. (The outside will look like a slightly lopsided chain stitch.)
Repeat steps 4-8 until you reenter the last hole.
After threading the needle back into the final hole of the final signature, tie a knot and snip the excess thread.
Whew! All done! I added a little bit of decoration and decided to protect the spine with some Gaffers tape. I’m thrilled with how it turned out. I can’t wait to take it on my trip!
I added colorful strips of paper to accent the simple cover and bright pink Gaffers tape to protect and reinforce the spine.
I learned a lot while stumbling through this project. I also discovered there are more things to learn. Things about the grain of the paper, the best way to assemble signatures, and other possible stitching techniques. I haven’t even started touching covers and end papers. Just means there is more to learn the next time I make a book!


