Have you ever wanted a particular type of book or journal, but not been able to find it? I wanted an art journal with a variety of papers to take with me on my summer vacation. I love our mixed media journals, but I wanted something different, something colorful! I'm surrounded by all sorts of fantastic papers at the shop, so I wondered how difficult it would be to bind my own from the papers here.
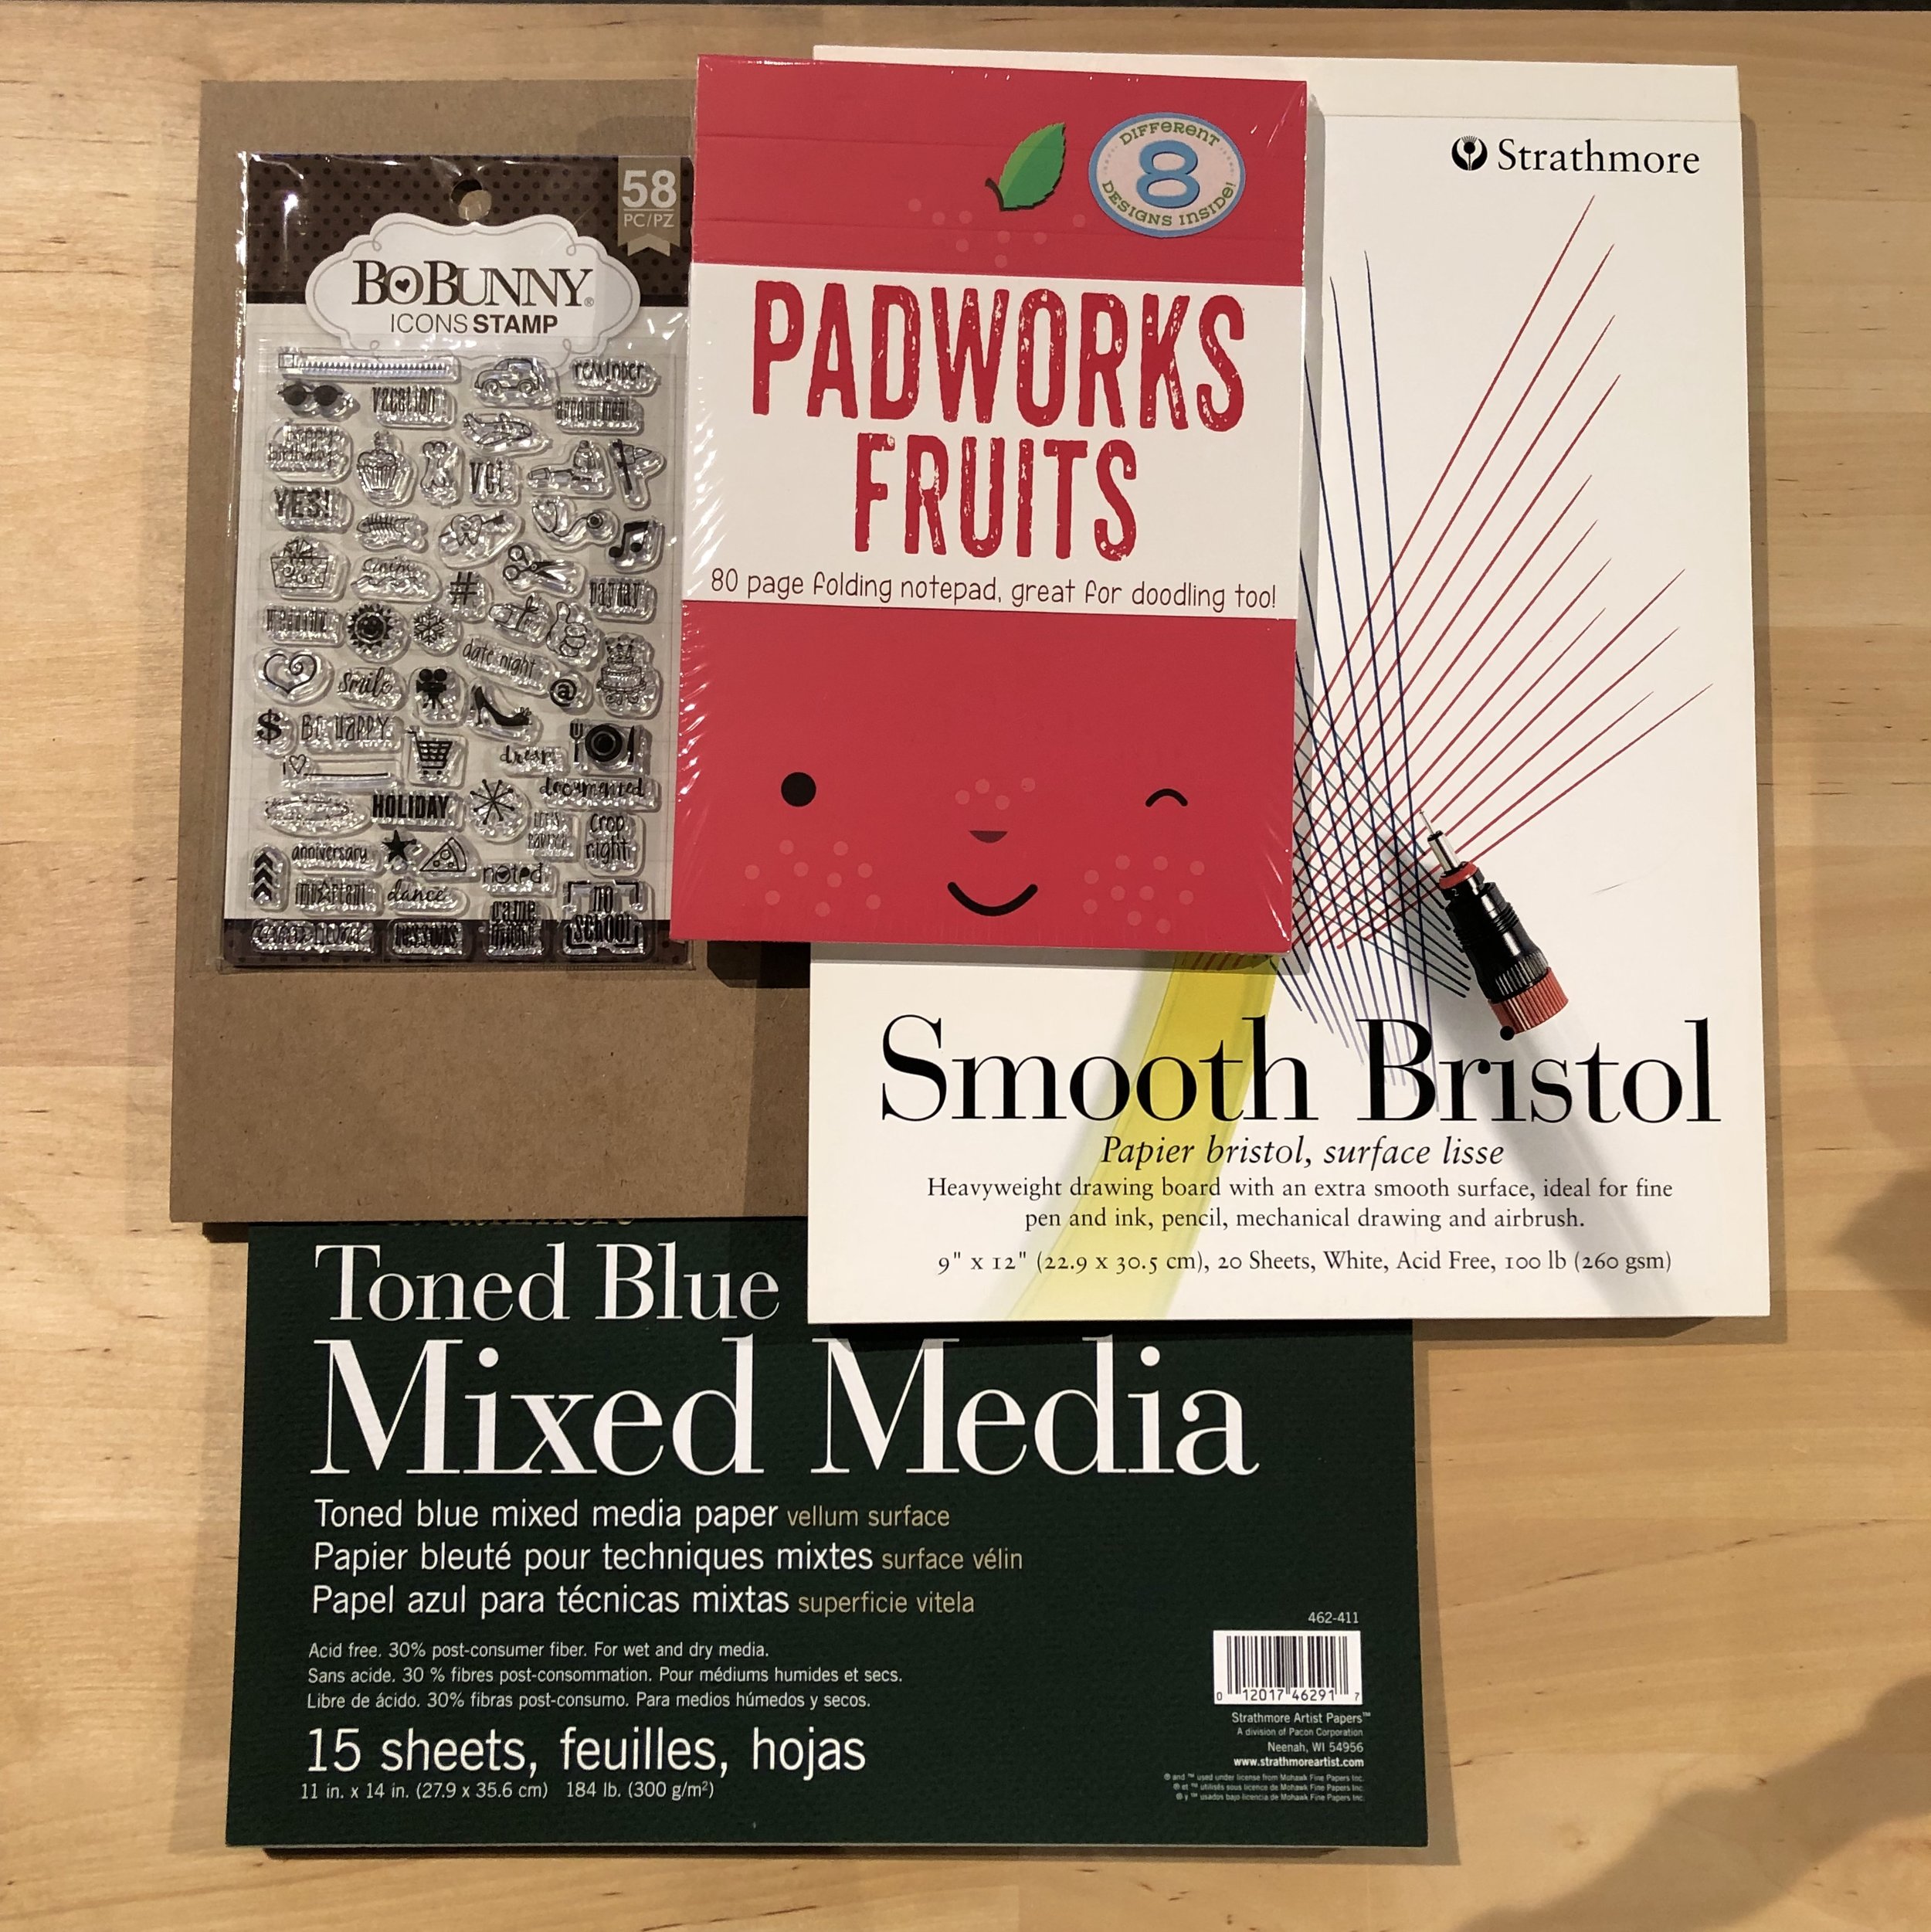
Getting started, I wanted to choose papers that I hadn’t used before. I wandered around the shop and poked through our mother’s old supplies. I came up with these three papers.
From the top, going clockwise: Padworks Fruits from Ooly, Smooth Bristol from Strathmore (old cover, same paper), Toned Blue Mixed Media from Strathmore, chipboard for cover, BoBunny Icon Stamps (not used for book binding, but fun in journaling)
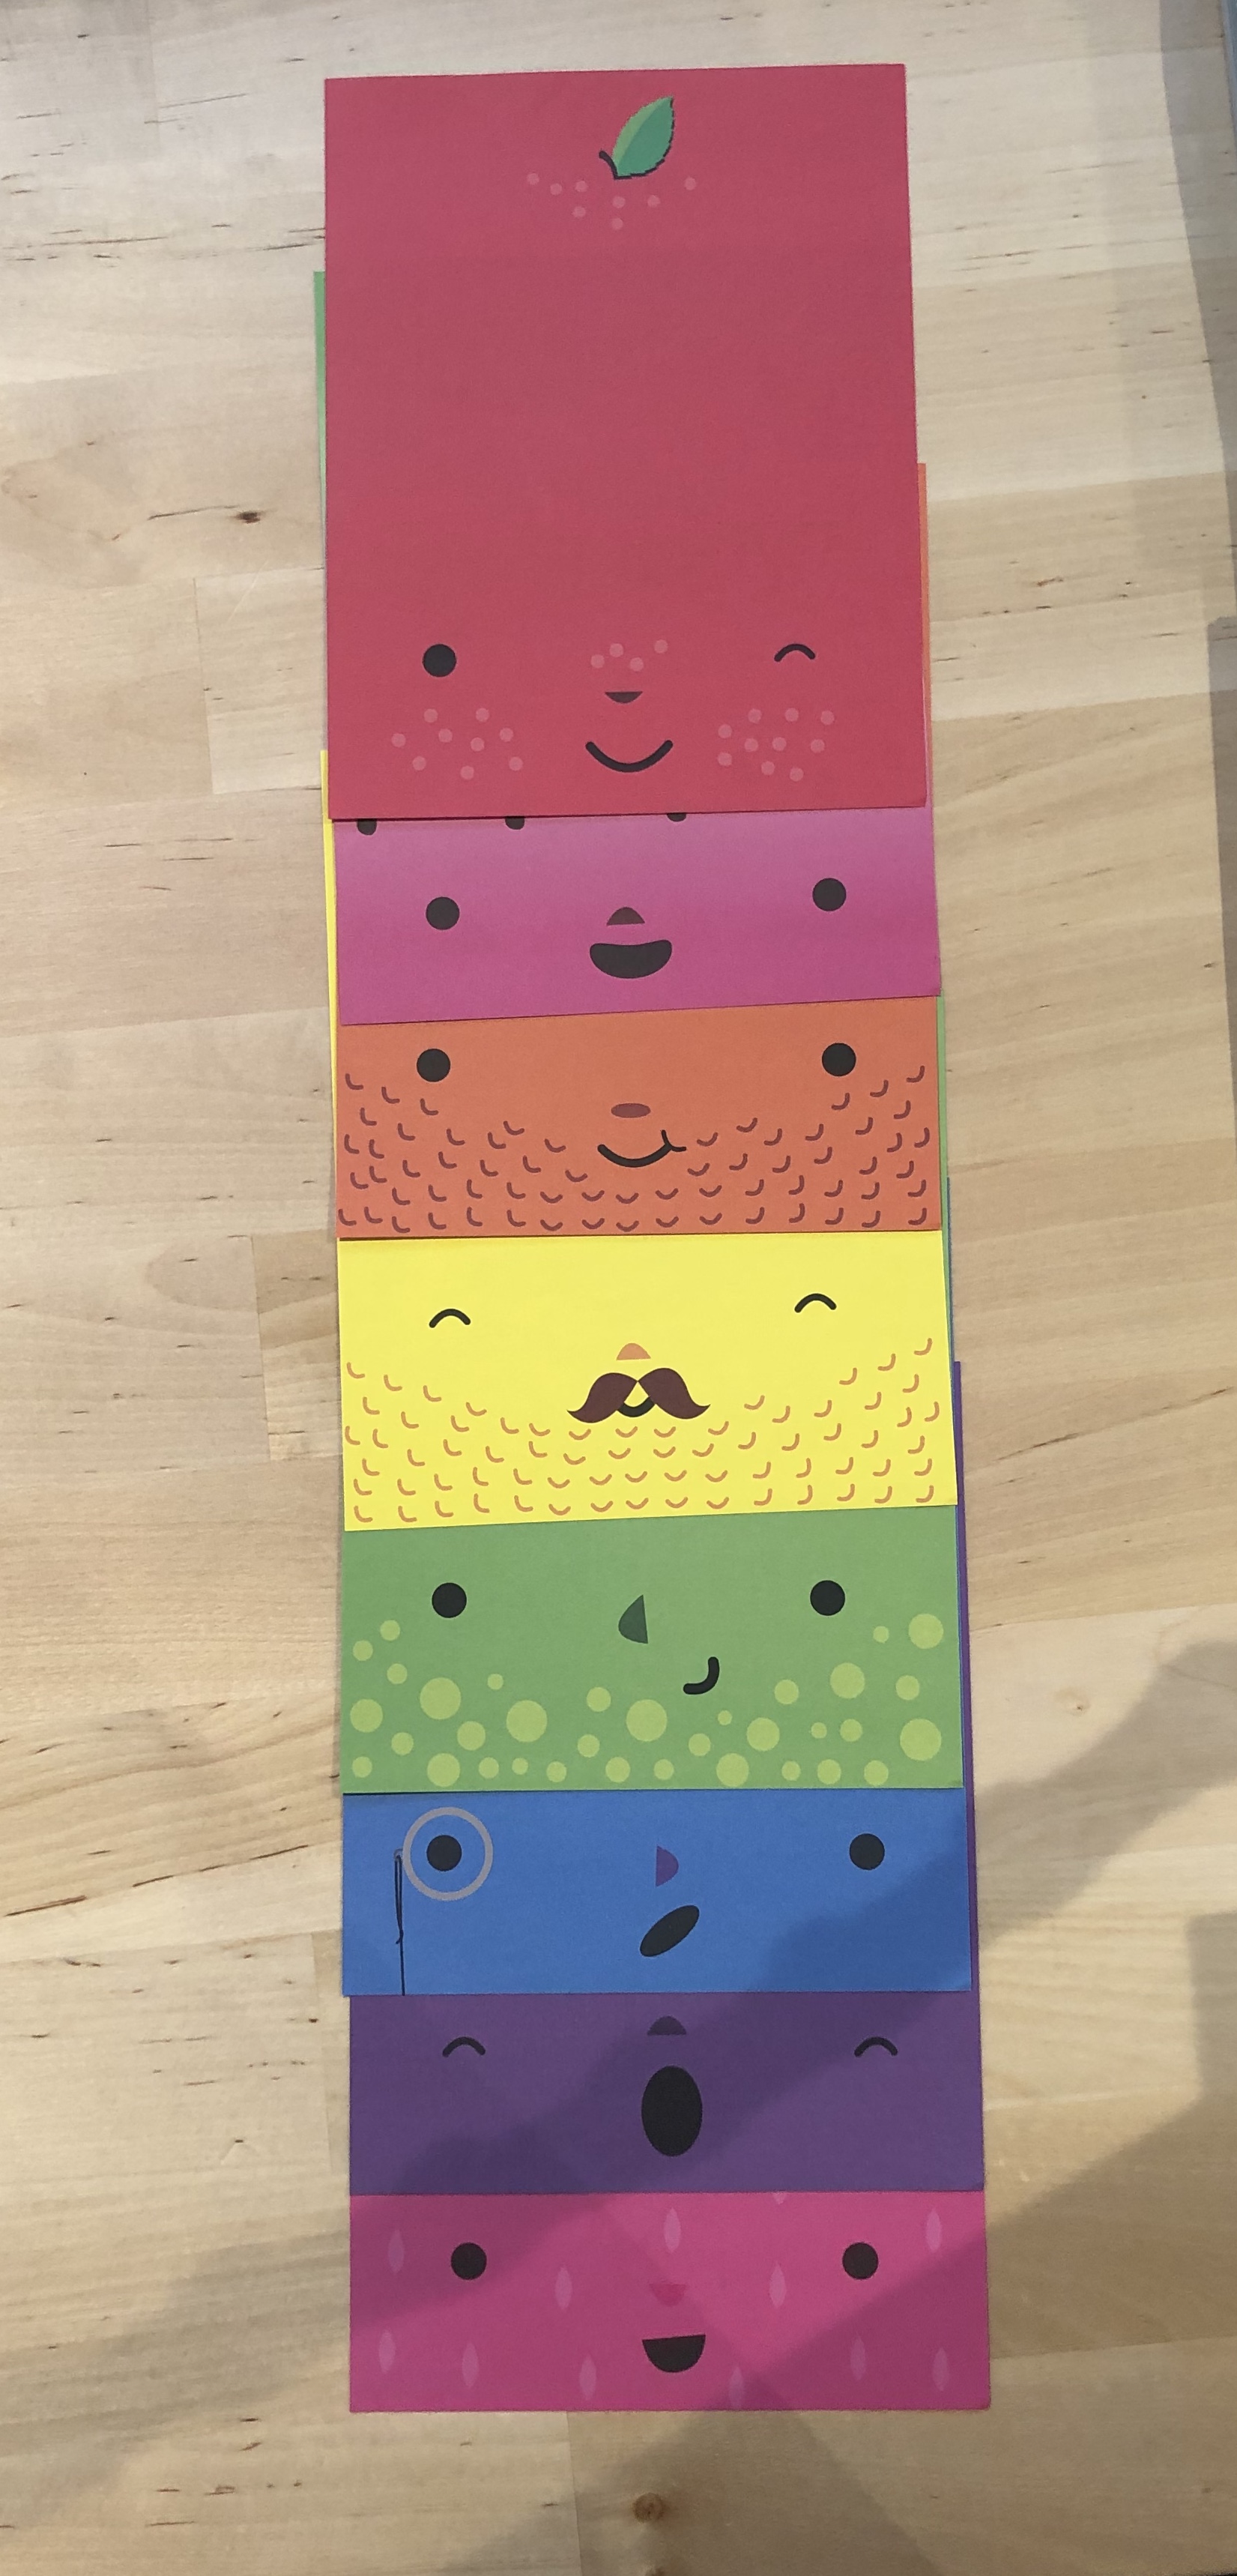
I love mixed media paper, I couldn’t do a journal without it, but did you know Strathmore has it in a toned blue? Let’s do that! Then there were these adorable fruit faced sheets. Yes it is aimed at kids, but come on, how cute are these?
These are the eight fruit pages. Mustaches, monocles, and winks, oh my!
I am also not really clear on how the Bristol paper is different from Mixed Media paper. I figured the best way to understand was to give it a shot. I found a pad in the supplies we got from our mother, and decided to add that to my pile, too.
That gave me a good variety of pages, in both color and surface types. But I had a problem. You might have noticed. All these pages were different sizes. Oops. I did some math trying to figure out sizes that were close enough to be bound together. The final numbers are for the full sheet that would be turned into a folio.
Having one type of page an inch taller and wider than another is totally normal, right?
First, I needed to double up the Padworks Fruit pages. The Bristol Paper was close (if you squint) to the same size. The Blue Toned paper was big enough, I decided to cut it in half. That got all my sheets within what I then figured was a close margin of error to go forward with cutting and folding into folios. Later, I decided it wasn't close enough.
Vocab break! (words I learned doing this)
folio - a sheet folded in half to form two sheets for the book
signature - a nested group of folios that are later bound together to form the book
book - a bound collection of signatures or sheets
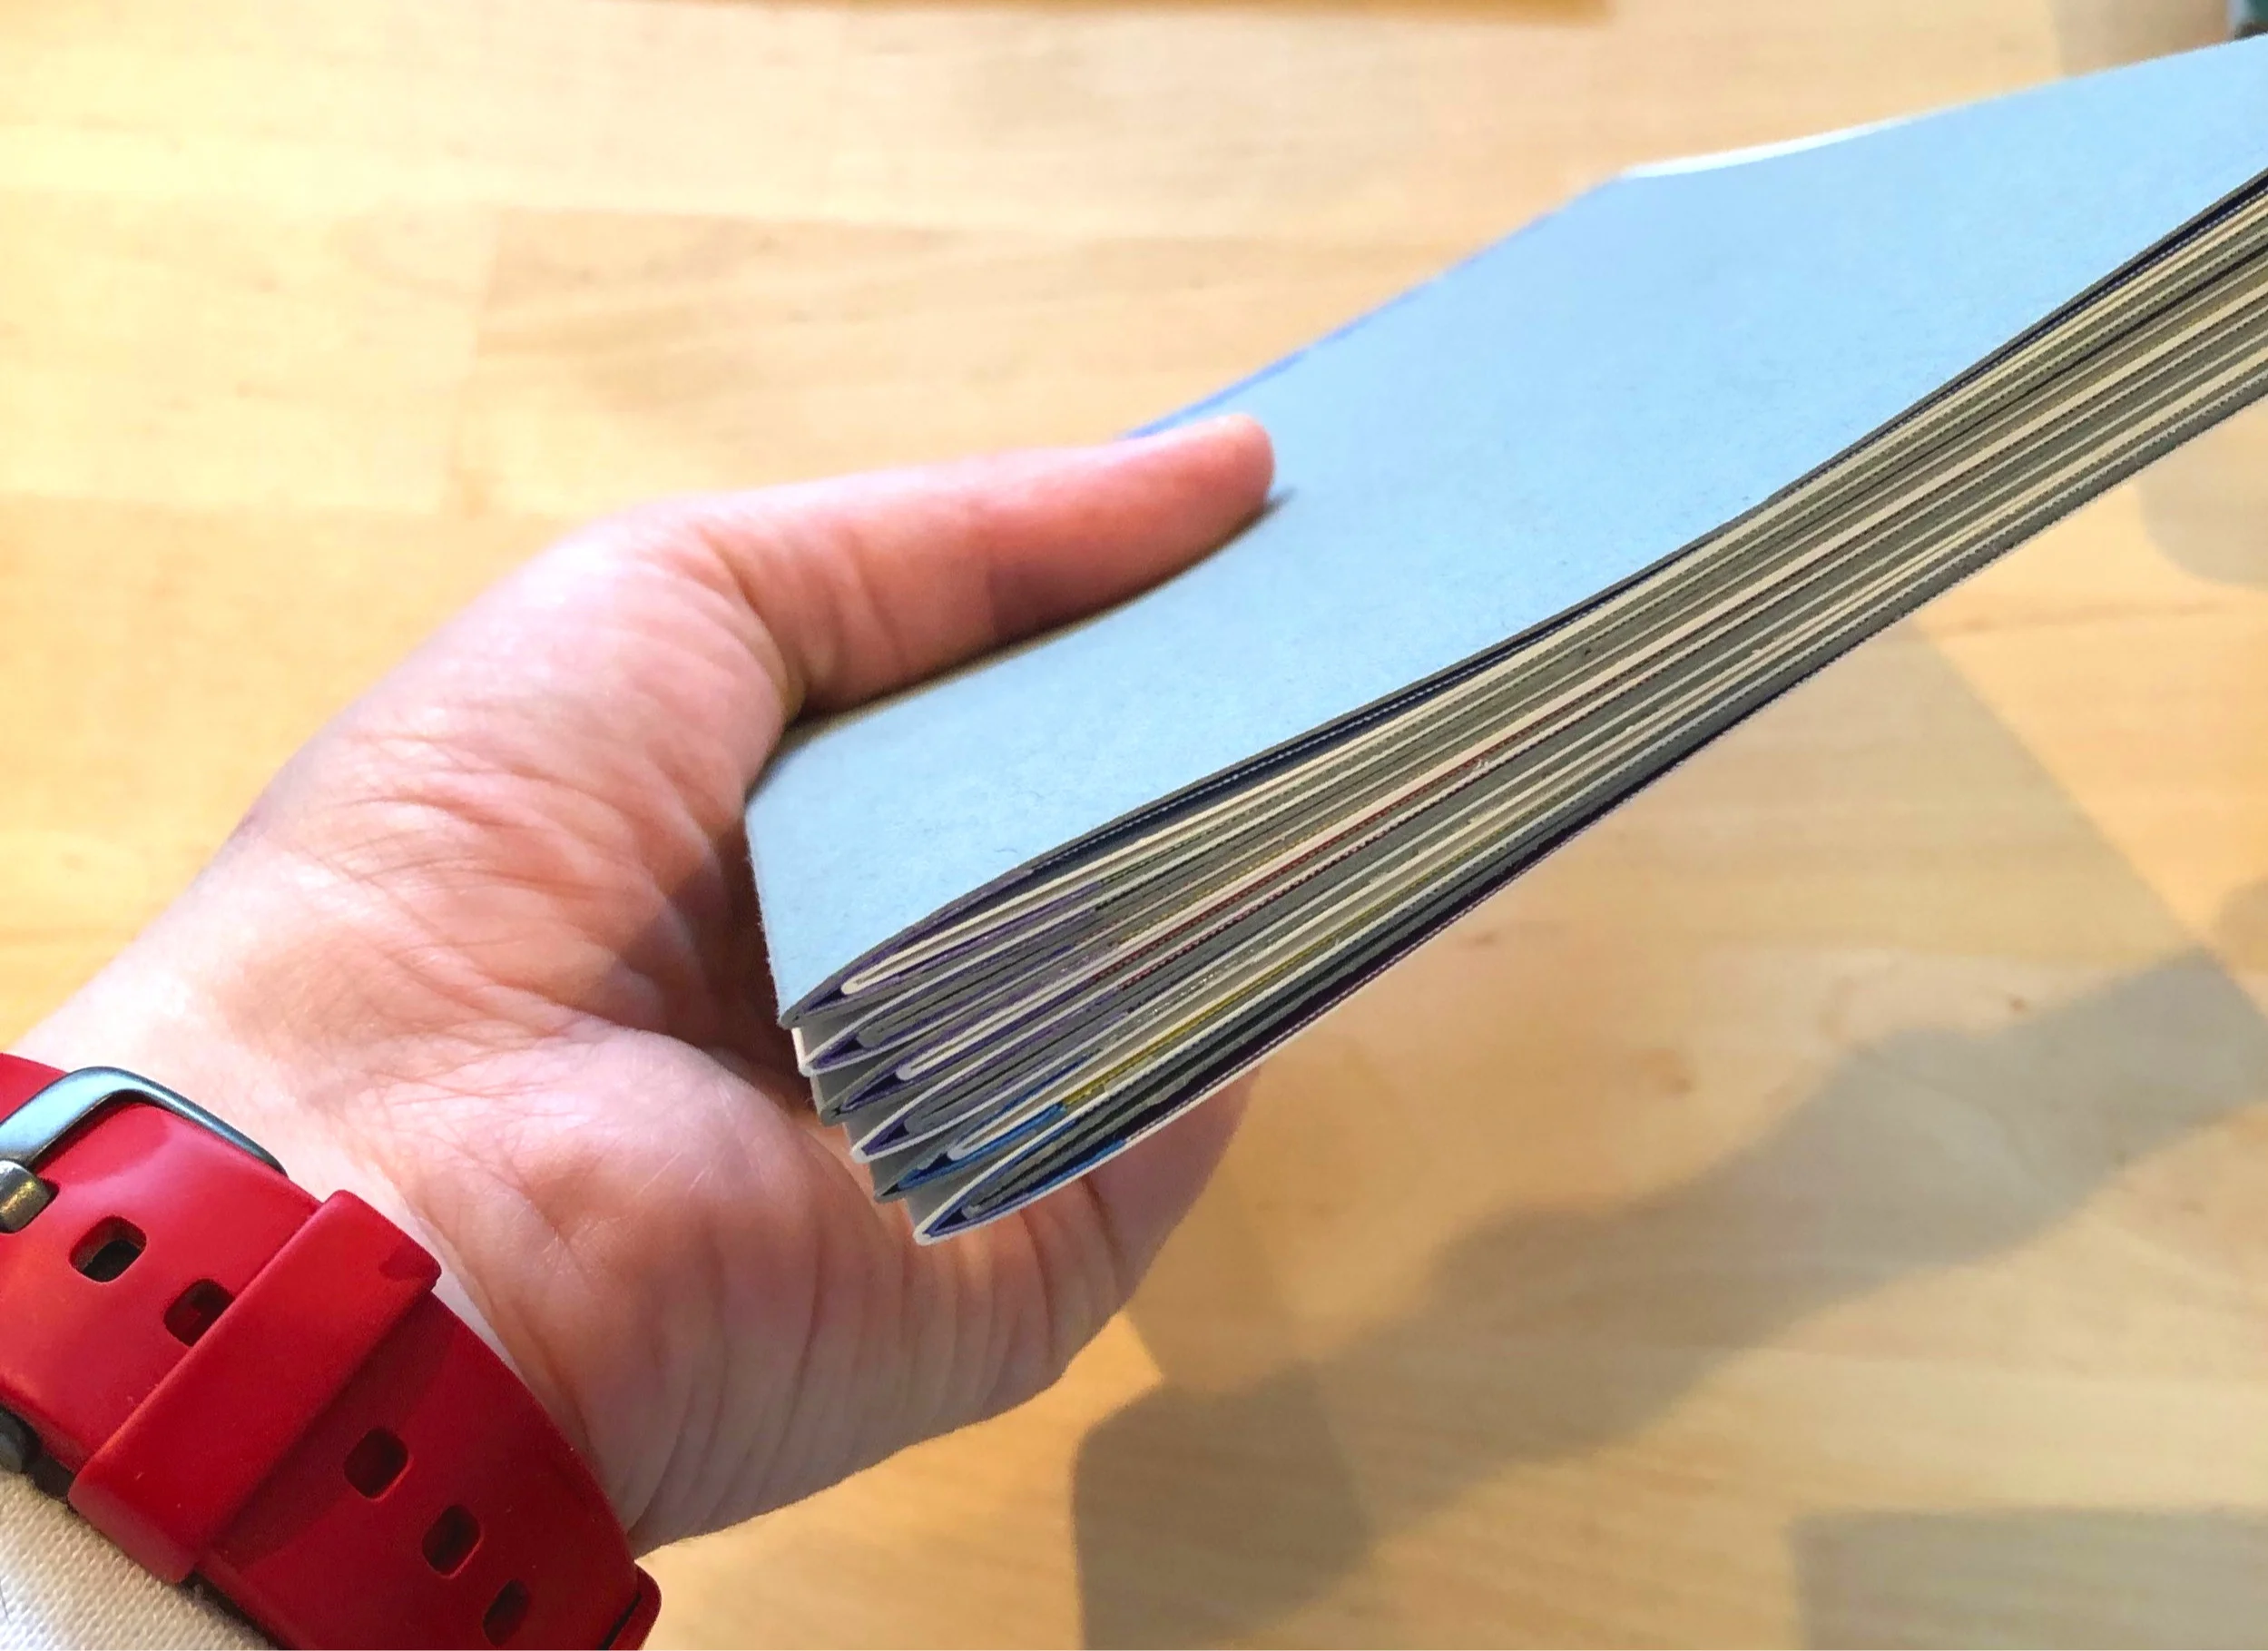
Here you can see a stack of signatures, each made from 3 folios (though only two are fat enough to be seen easily). This stack became my book.
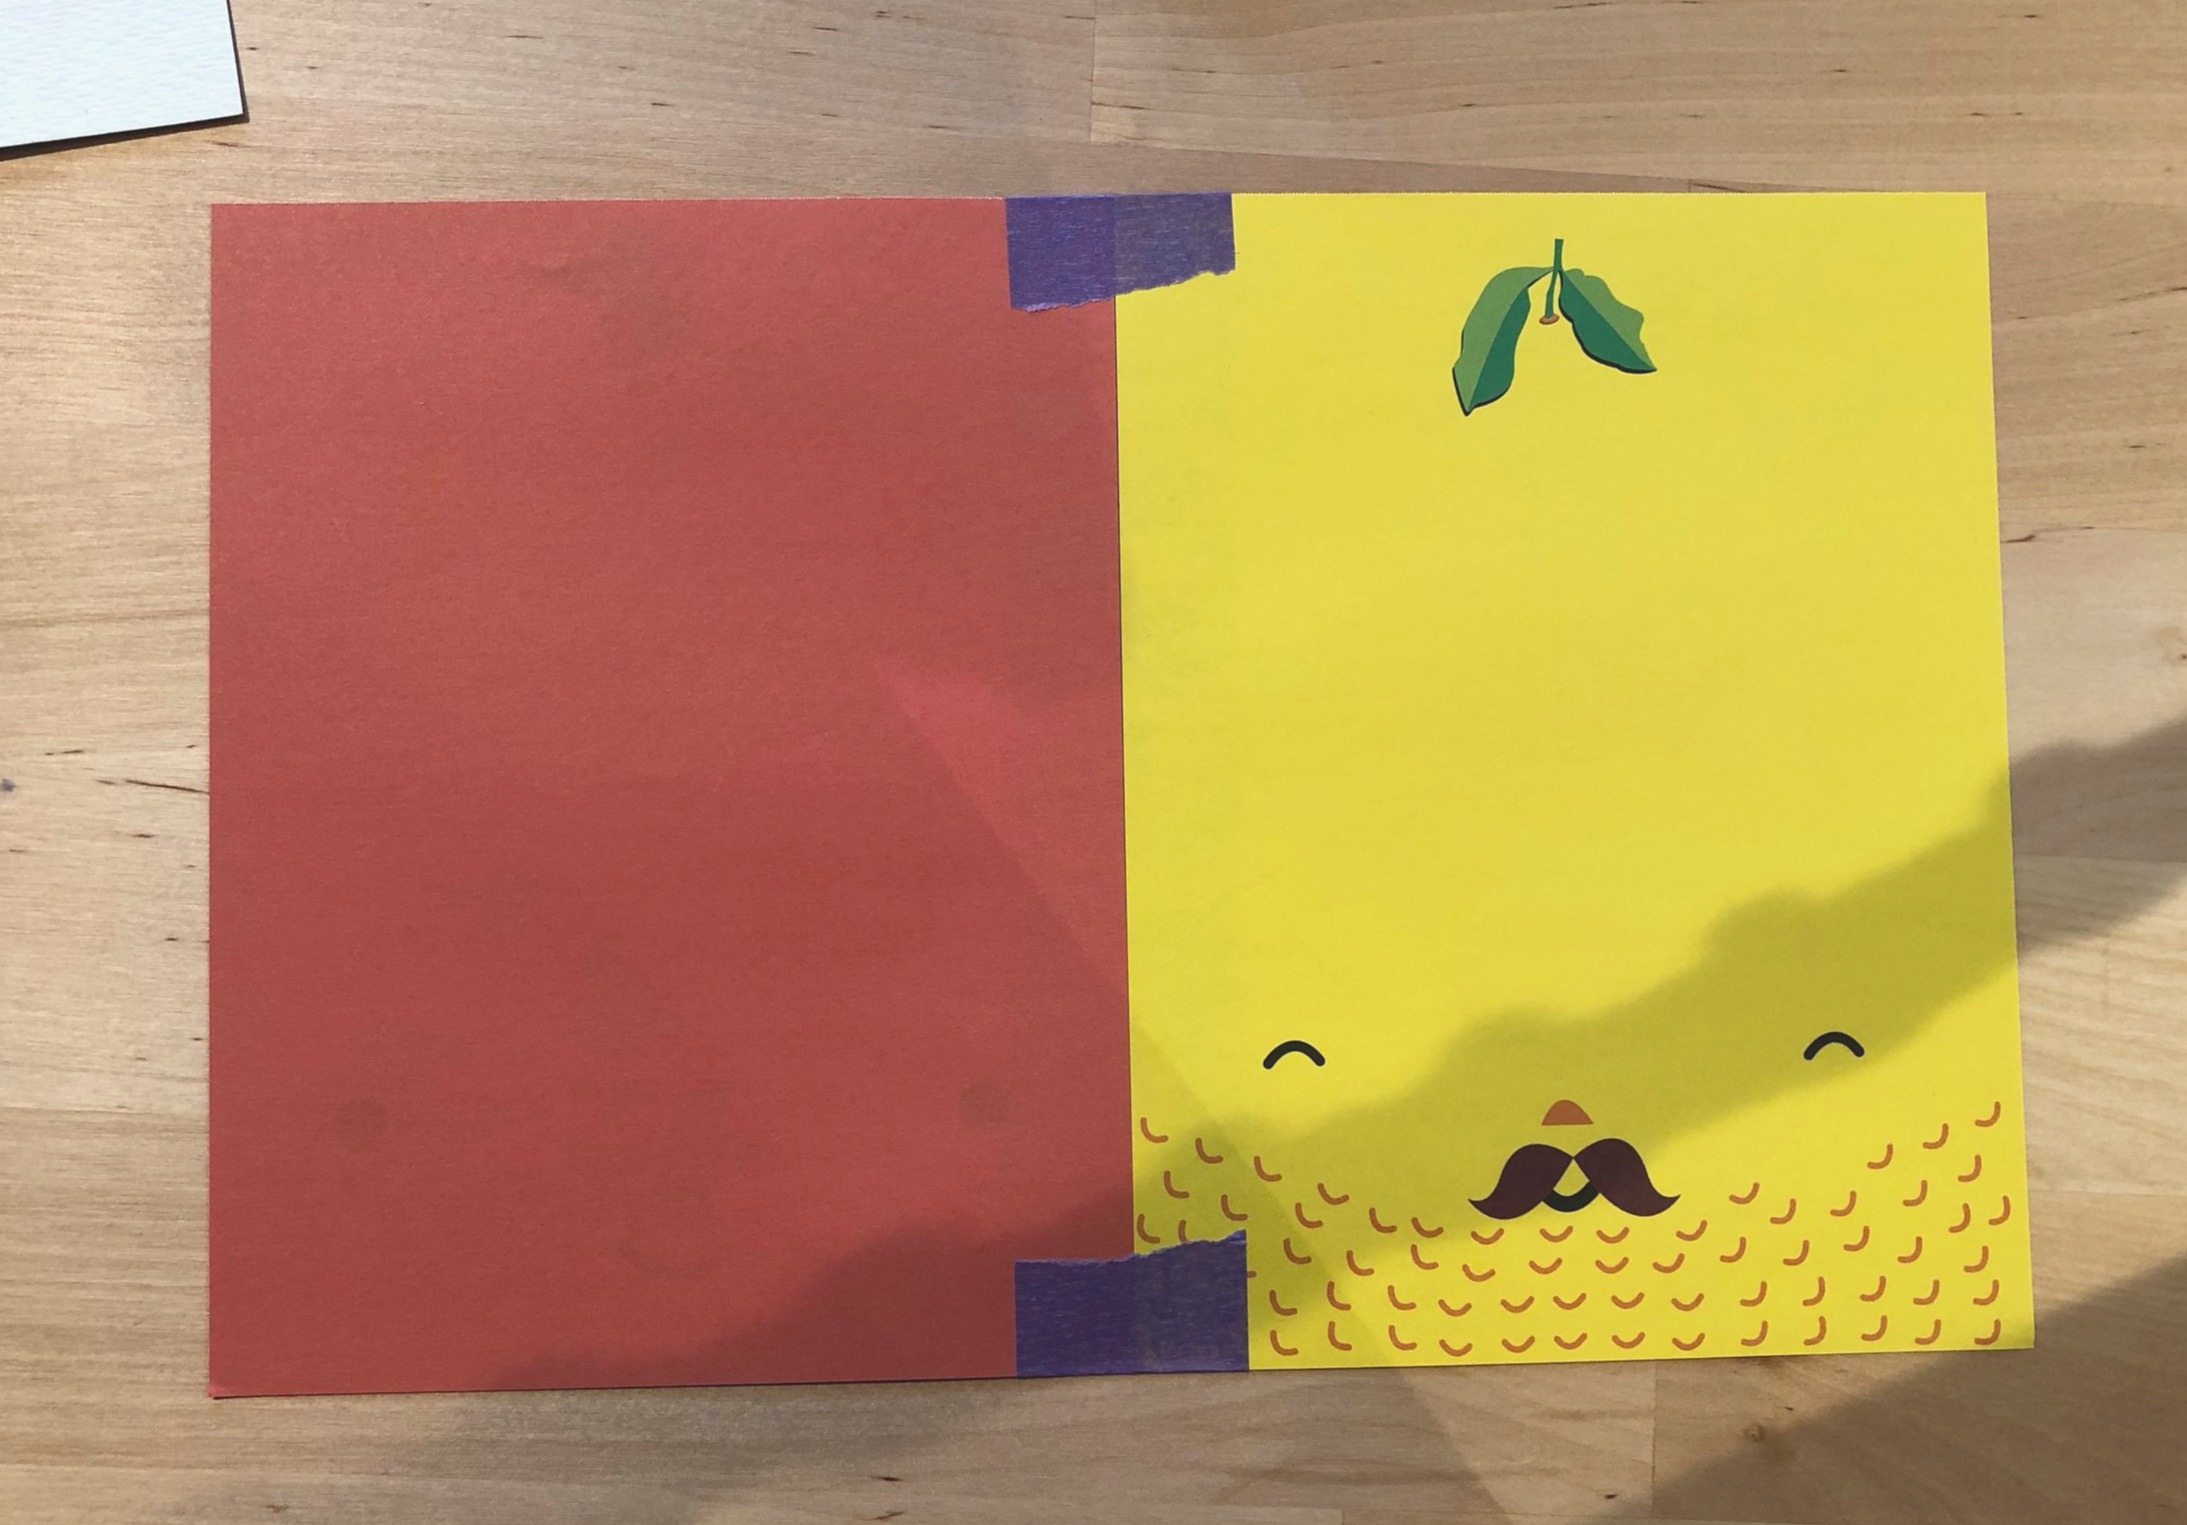
I started by taping the fruit papers together. I didn’t use anything really special, just painters masking tape. I thought about washi tape, but I wanted a wider tape.
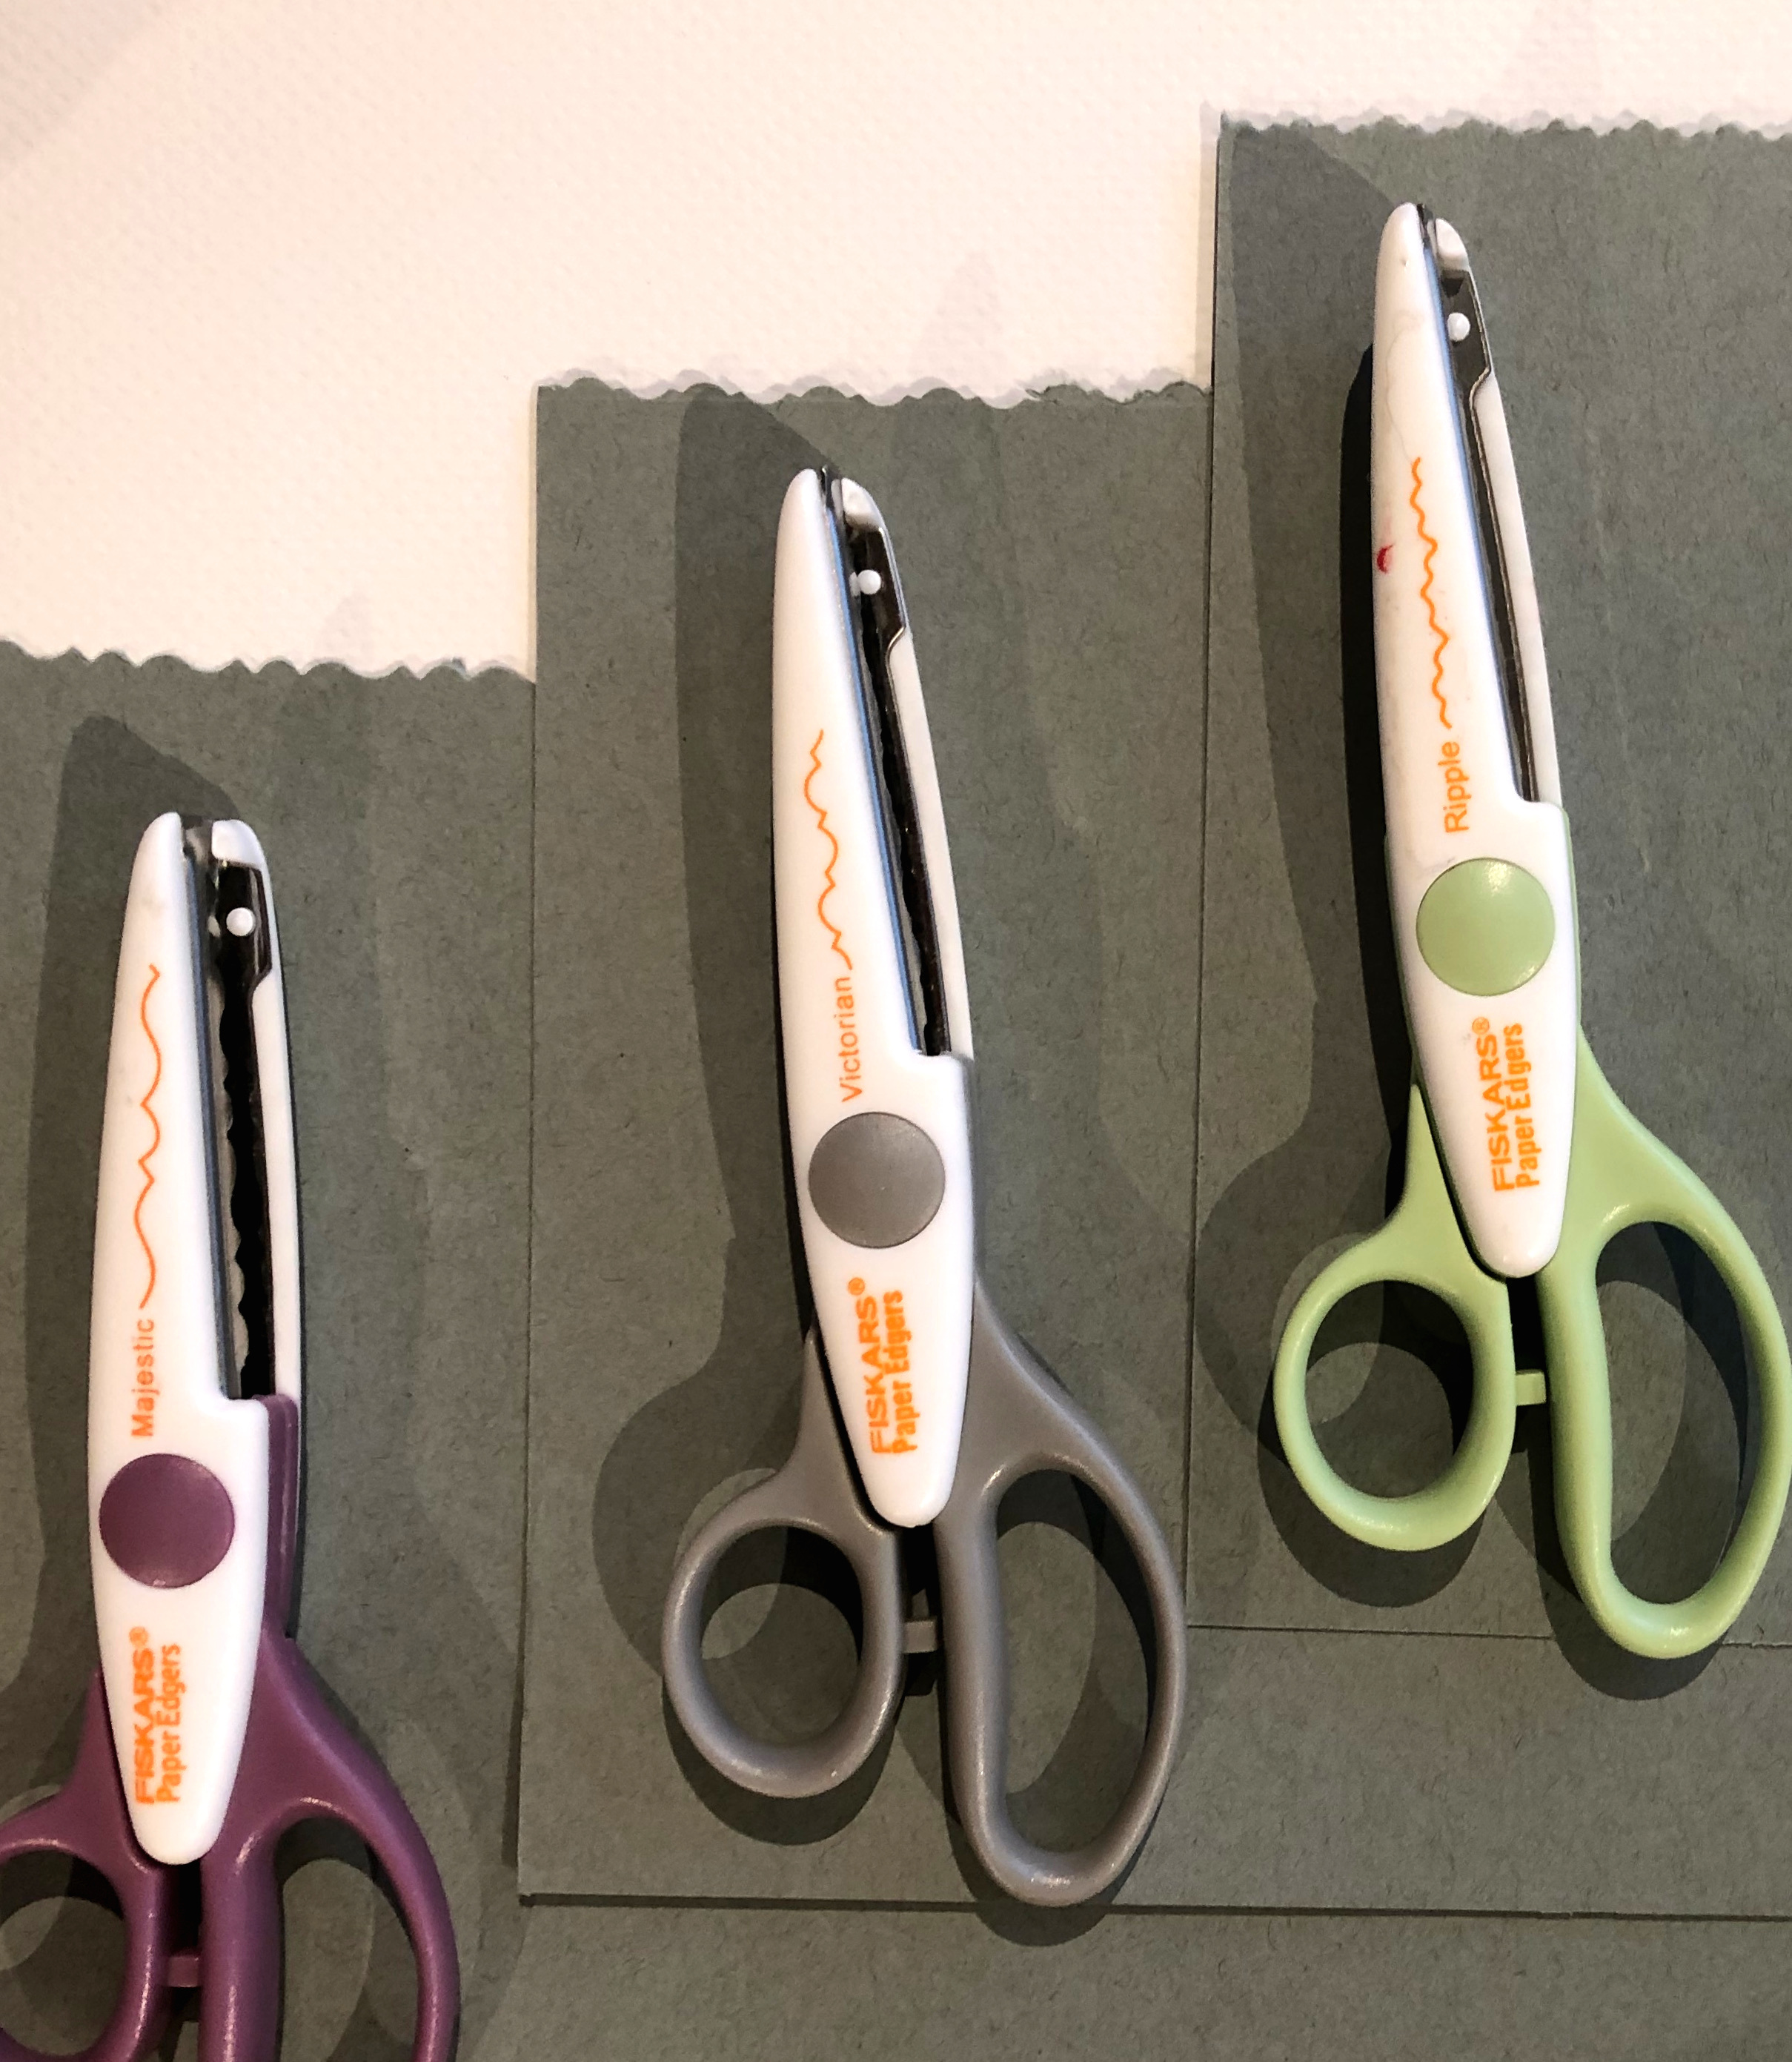
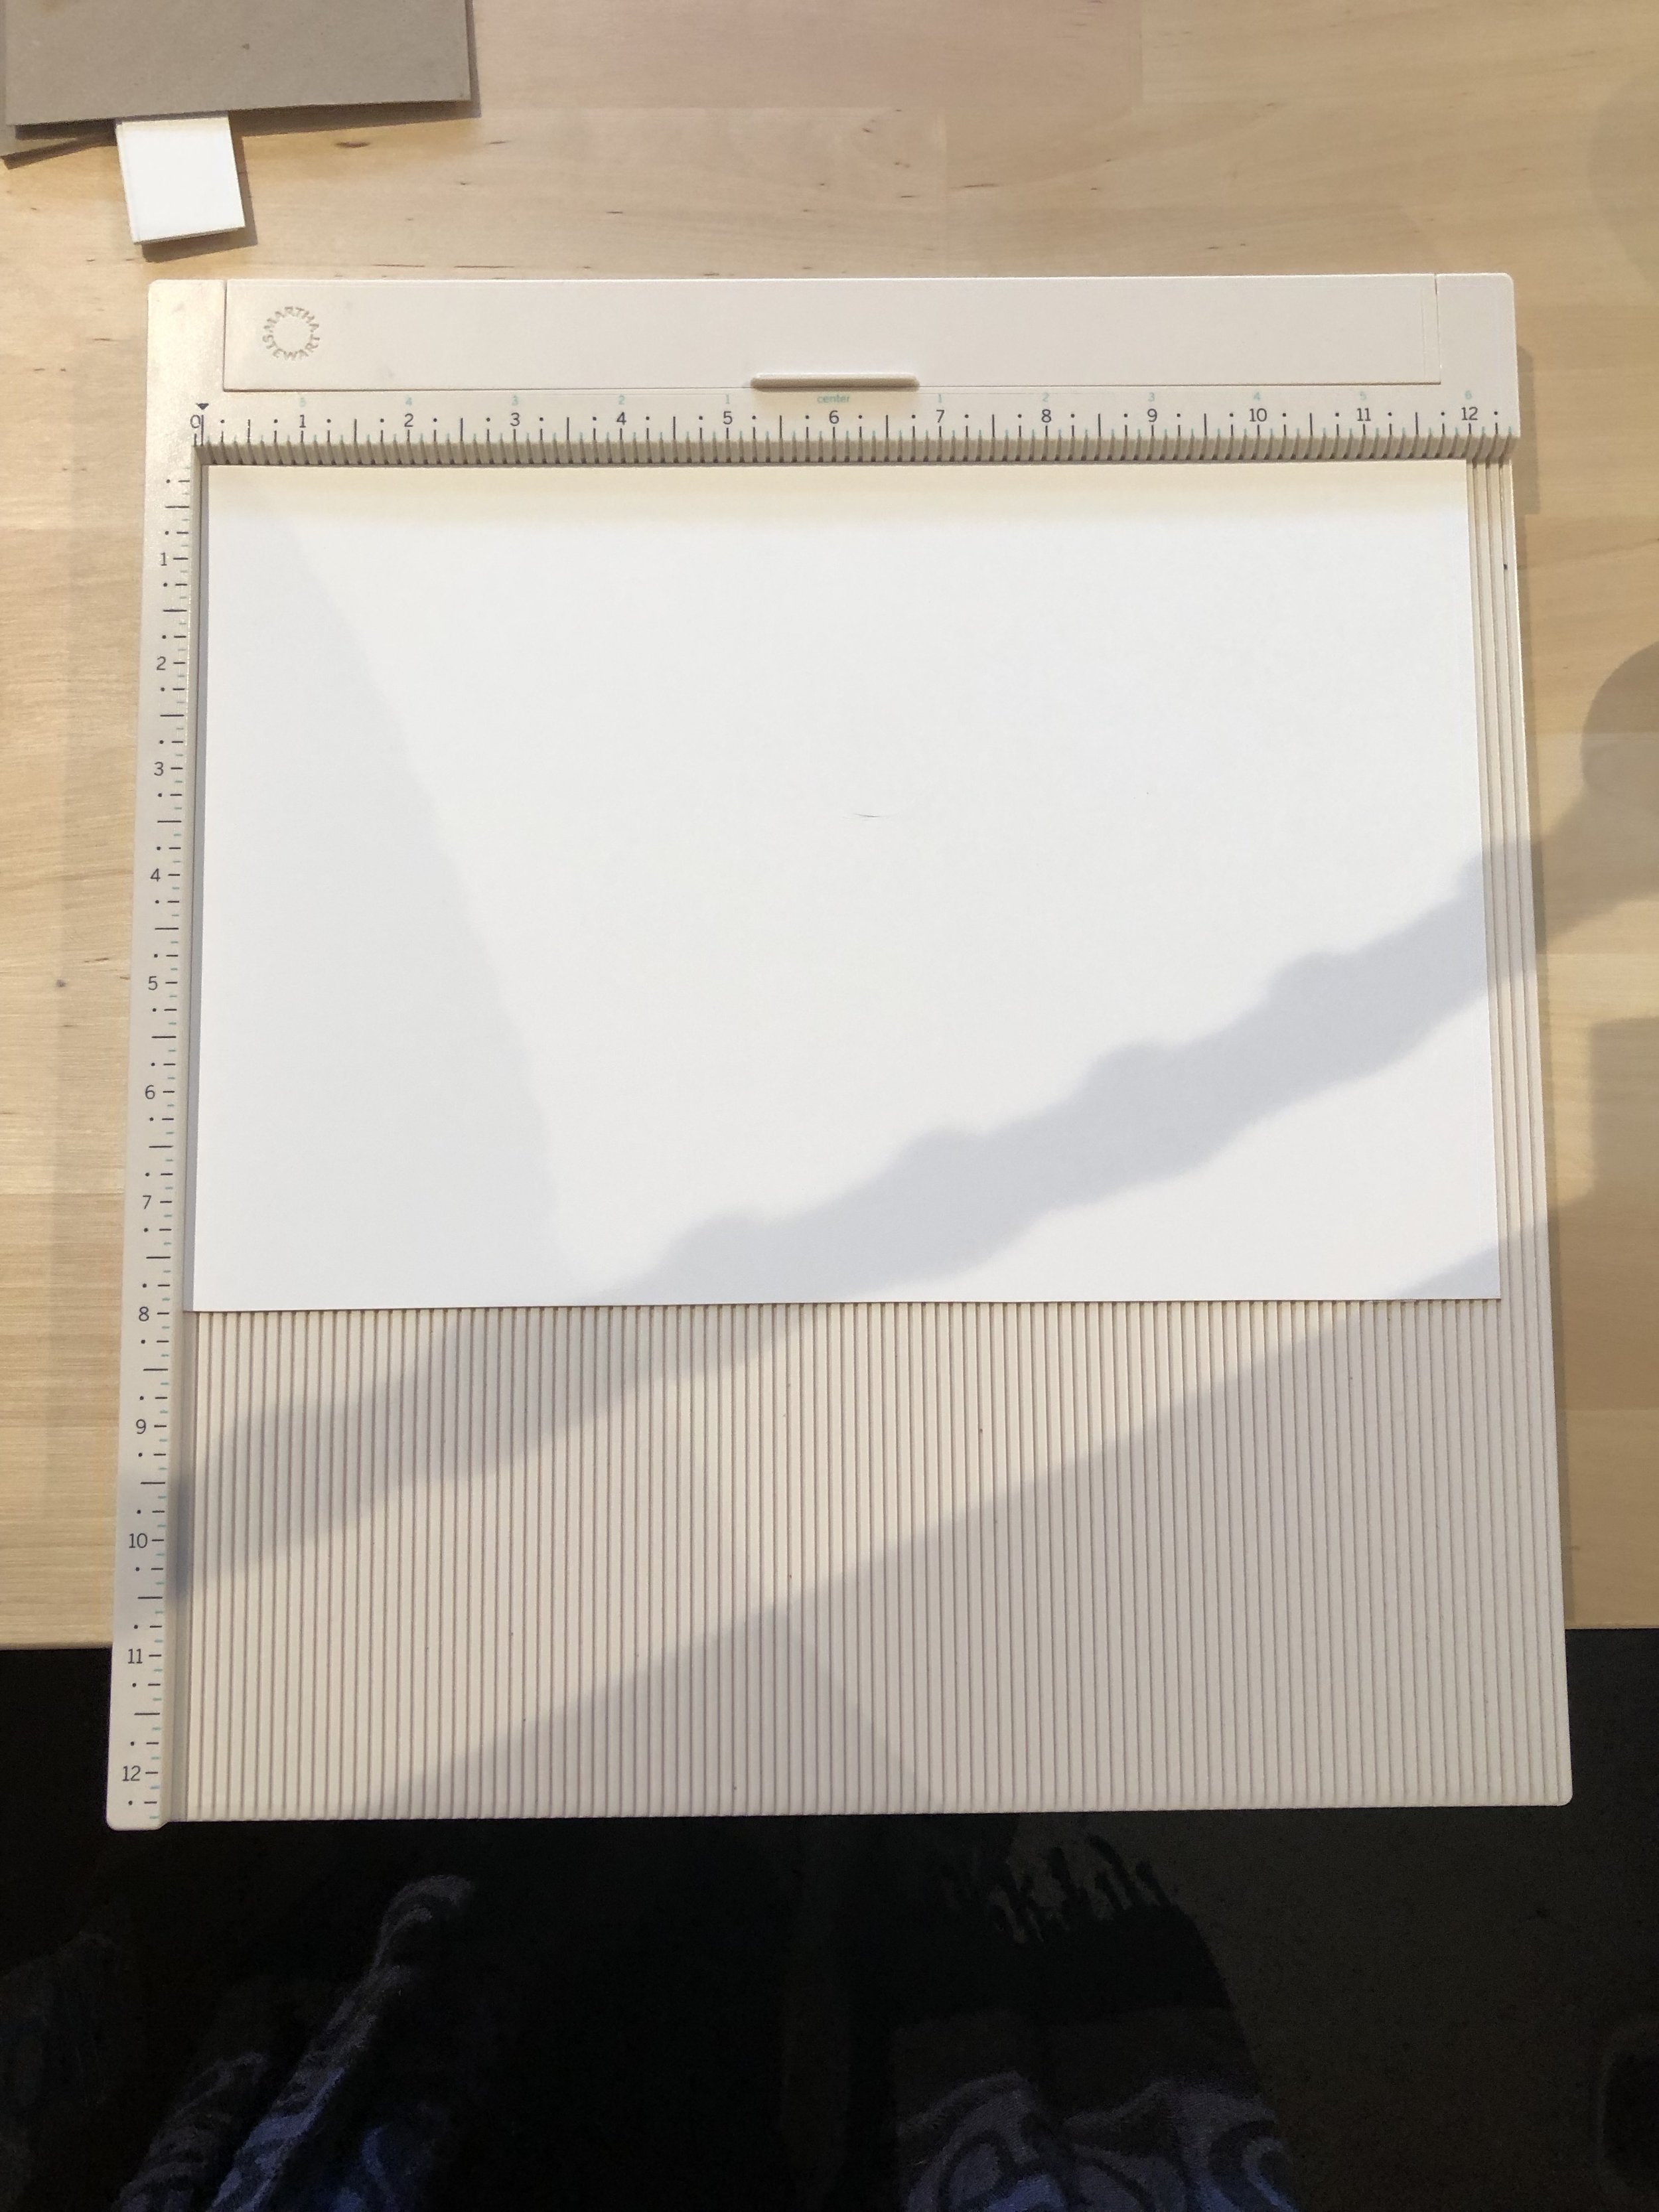
Next, I cut the blue paper. Since I knew it was going to be shorter than the other pages, I decided to use decorative scissors for a fancy edge. I love how they turned out! I think the Victorian Edge is my favorite. Then I scored them in the middle to help form a clean fold.
Fun Fact (something I learned form experience)
When using a scoring board, you will draw the score line, then flip your paper over to fold it! The score line is on the outside of the fold.
Finally it was time for the Bristol paper. I didn’t adjust it, simply scored and folded it.
When I got my three papers together, I found the differences in page width was more of a problem for me than I thought. So, I trimmed the extra with a rotary cutter and a straight edge until they were closer to the same size. I did leave the fruit and Bristol folios longer than the blue to protect the decorative edge. I assembled the signatures so they each had a bristol, fruit, and blue folio, then set them under a heavy book for the night to get them ready for the next step, binding!




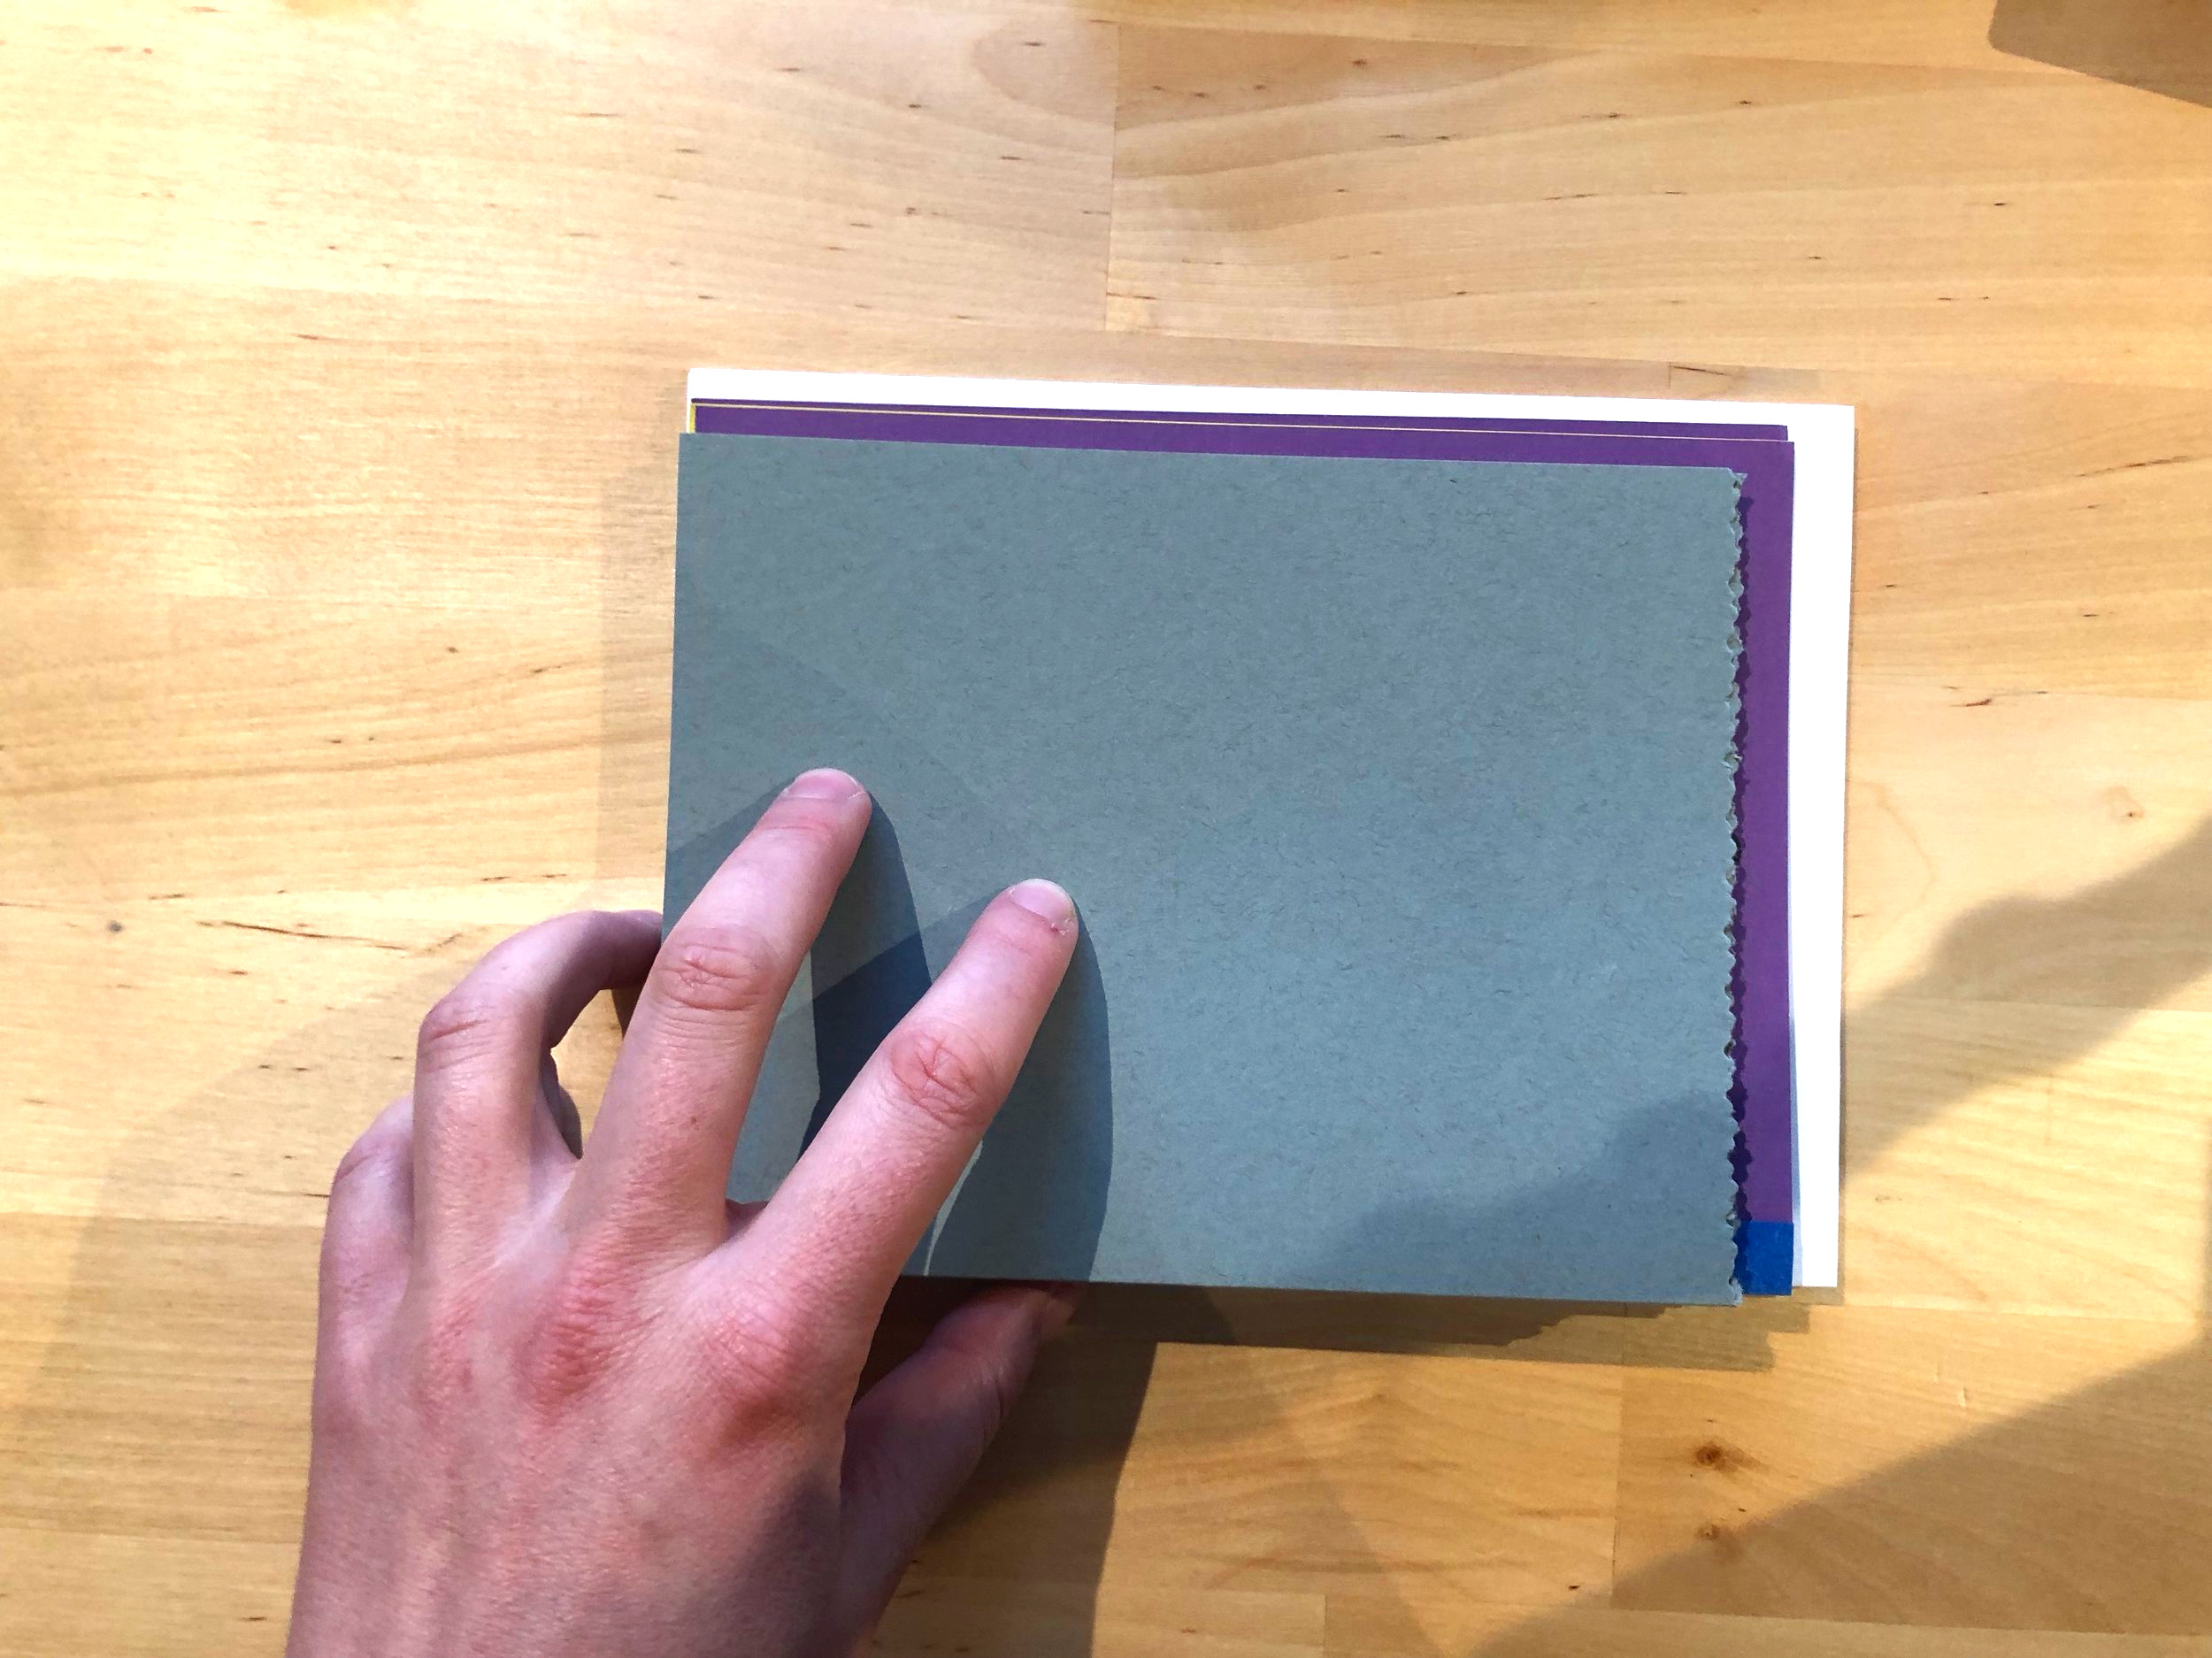


Last, but not least, I glued two pieces of chipboard together to make a thin cover. I actually did it twice, so I had a cover for the front and back, then trimmed them to about a half inch bigger than my largest folio. I put everything under a stack of books overnight to be ready for the next stage, punching and stitching!
